How To: Make Festive Cork Decorations

How To: Make Festive Cork Decorations
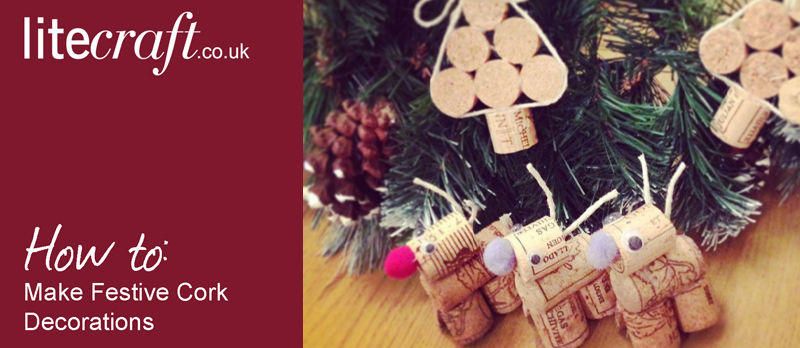
Scandi Style is great for creative creatures, the trend is all about hand crafted accessories using natural pieces and items found around the home, so this week we got our creative juices flowing and made some festive tree decorations using wine corks! These little creations also look great hung from garlands, chandeliers or simply stood on a mantle.
Here's how to make your own Cork Trees and Reindeers!!
Tools you'll need Plenty of Corks Glue Gun*StringAdhesive Googly EyesMini PompomsKnife***Glue guns can get very hot so please be careful when handling, please keep out of reach from small children.
** Please seek an adult when using sharp knives
Cork Tree
A Cork Tree consists of approximately 2 or 3 corks altogether, 5 (pound sized) "sliced" pieces and a half cork for the base.
To make a Cork tree "slice" your corks to make 5 pieces.
With your glue gun, place a dot of glue on each piece of cork, try to keep the dots as small as possible, as you can see below some of the glue will be seen in the gaps so the smaller the better. Our Cork Trees are mini in size but feel free to make yours bigger if you wish.
After all 5 pieces have been glued together, trace some string around the tree and keep two ends at the top approx 7/8cm left over to make the bow. Place a dot of glue on each of the 5 pieces and trace the string around the edge of the tree.
Once you have traced the tree with your string, tie a bow with the excess string at the top.
To finish, cut a piece of cork in half and cut down the middle to create a flat edge, add a dot of glue on the top and attach to the bottom of the tree to make the base.
Voila!! You have a mini Cork Tree.

Cork Reindeer
The reindeer is a significant symbol during the festive season!!
Here's how to make your own cork version.
You will need 3 corks in total to make one Reindeer, first of all cut the end of one cork to it is slightly smaller than the original size, with a dot of glue attach to a whole cork, as pictured below.
With your 3rd piece of cork, cut in half and then half down the middle to make 4 pieces, these will make up the Reindeer legs. Glue each piece at an angle onto the bottom of the whole cork so that it stands up like legs.
Last but not least, add 2 googly eyes and using the glue gun, stick a pompom on the end of the halved cork for a nose, you can buy a mixture of coloured pompoms from your local craft centre or supermarkets, obviously red would be the most popular colour but in our case we chose a blue colour for frosty blue inspired look.
To finish off, cut a 10cm piece of string, fold over and attach to the back of the half cork with the glue gun, this will make the antlers. You can also add a tiny piece of rolled up string to the back of the full cork to make a little tail if you wish.
Our red version...
What do you think guys?
Why not tag us in a photo of your own Festive Creations on our Facebook Page?


